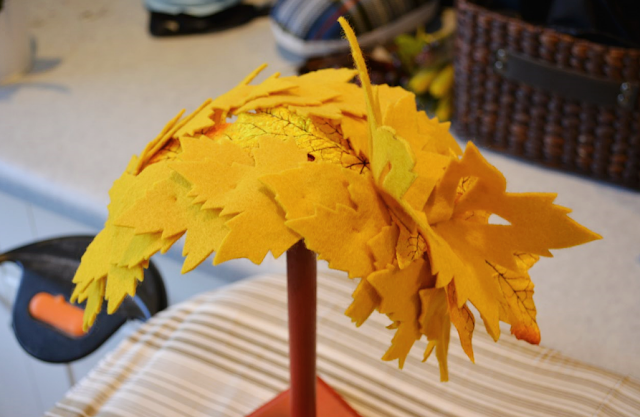
Another Little Fall Leaf Hat Tutorial
I made a few larger leaves with interior cutouts (on the right in the above image) to add as an accent on one side of the hat. Just use an exacto knife to carefully slice out teardrop shapes from the inside of the leaves.
To make a base for the hat I took a circle of millinery wire and bound it shut with plumbers sealant tape. This tape is great for millinery wire! #notcoutureapproved :) I used to use floral tape sometimes but find it too sticky, this stuff is better. I carefully bent the wire into a long bean-ish shape to fit my head.
Then I covered the wire base with a strip of felt wound around the wire and secured with a few stitches in matching thread.
To make a foundation for the smaller felt leaves I used some large velvet leaves I found on sale at Joanns to fill in the space between the wires. I simply stitched the parts of the leaves that touched the wire (and each other) down. This is why wrapping the wire in felt is excellent because you can sew right into it no problem! These leaves came in various colors and types and look very like vintage velvet millinery leaves...so I stocked up! I mean, I seriously bought a ton of them! They were less than a dollar a pack, so get thee to a Joann ladies!
Once you have a hat base essentially together, start layering your felt leaves and tacking them down, overlapping each leaf over the last and adding a stitch through both leaves and into the covered wire beneath.
Keep layering on both sides of the hat.
Before you know it, presto! A fall-tastic hat appears! I pinched the larger leaves with the cutouts at their base for some dimension and stitched them onto one side for some extra flair. I really can't wait to wear this new hat and am really tempted to make another in orange or perhaps red? Or every color? The options are endless! The same techniques could be used with any shape really, like flowers for spring :)
How is your fall crafting going? You have started haven't you ;)


Comments
Post a Comment